Engineered Wood Flooring in The Southwest
Premium Engineered Wood Flooring in the Southwest
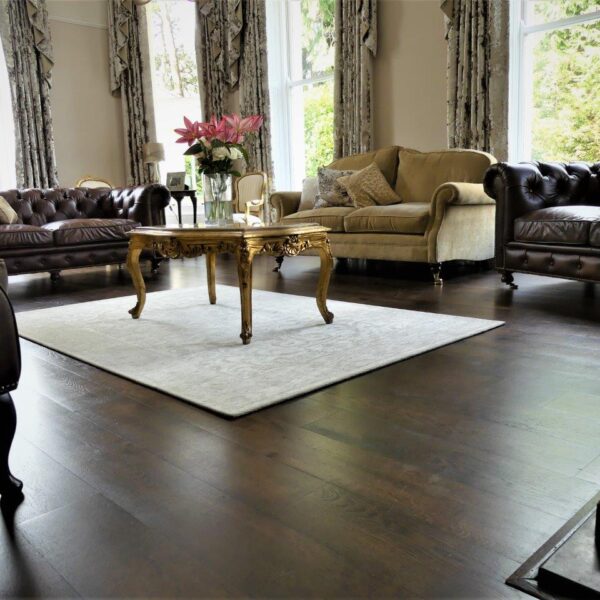
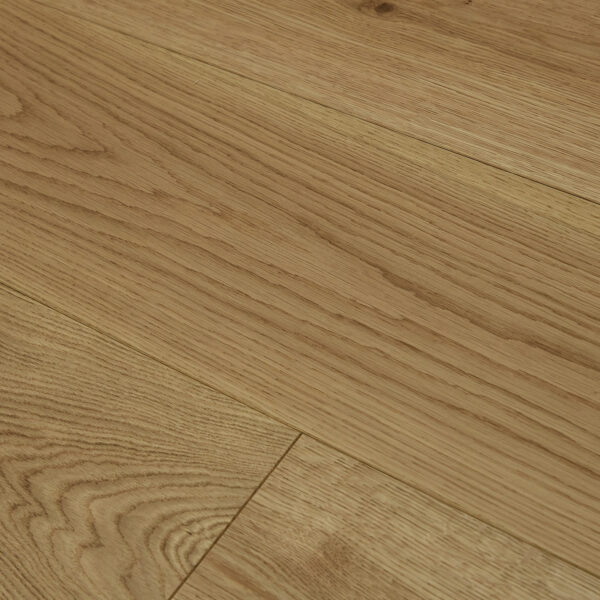
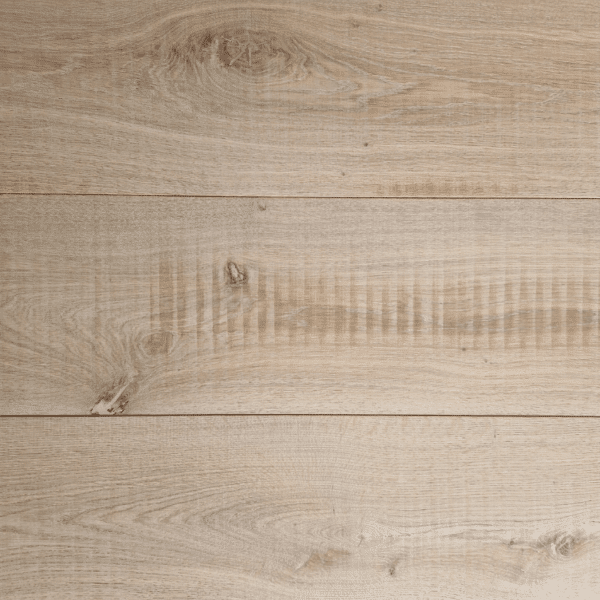
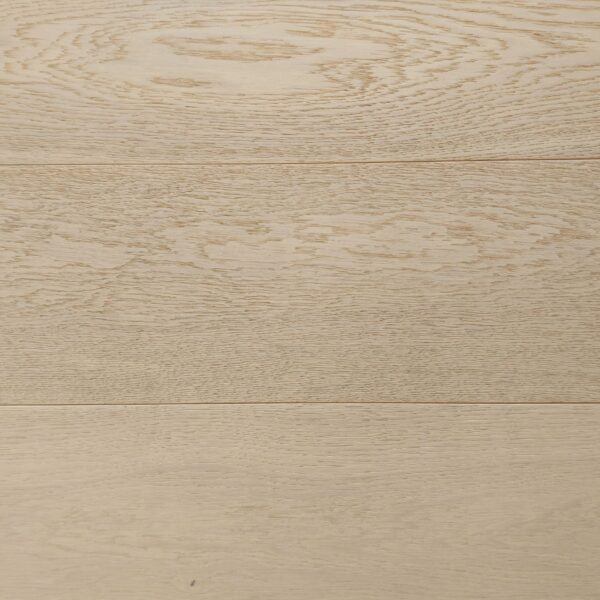
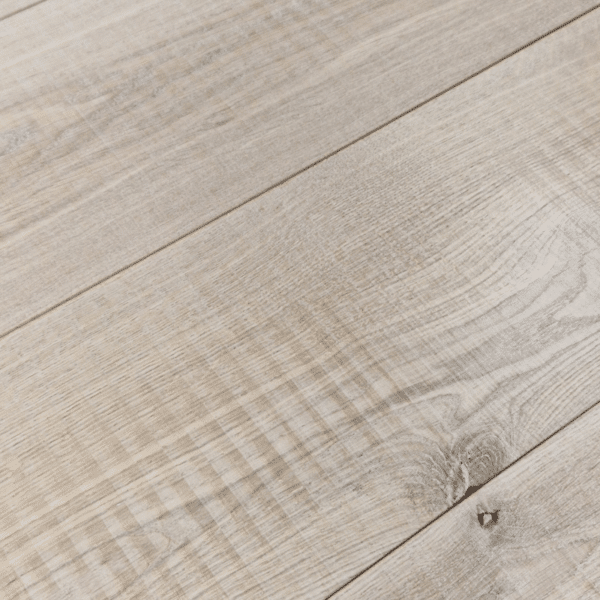
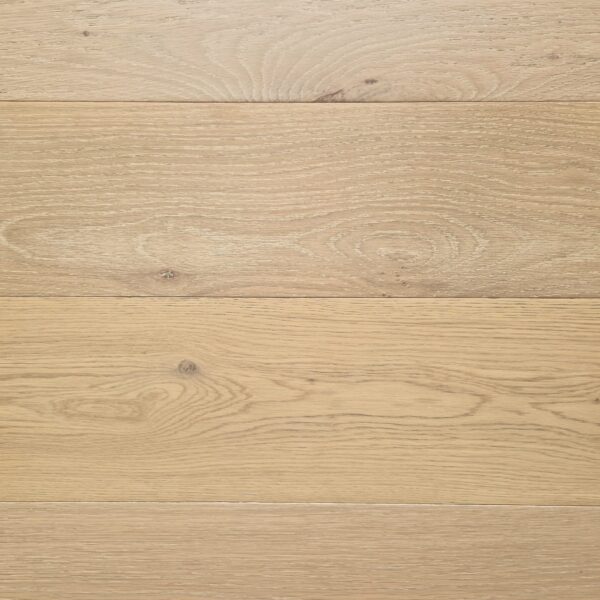
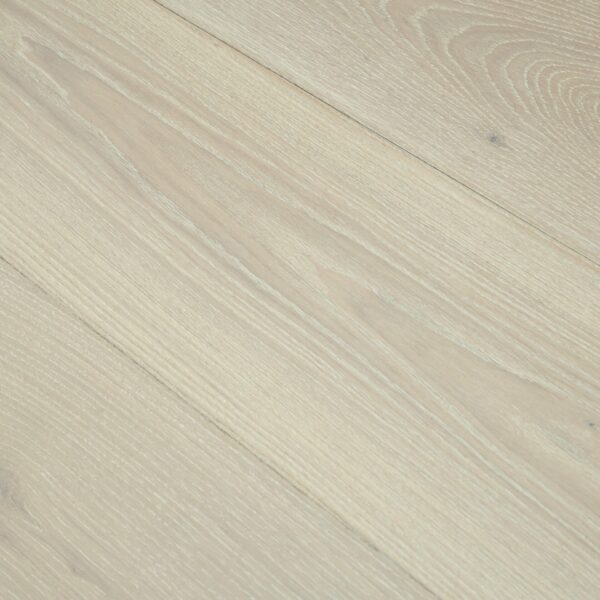
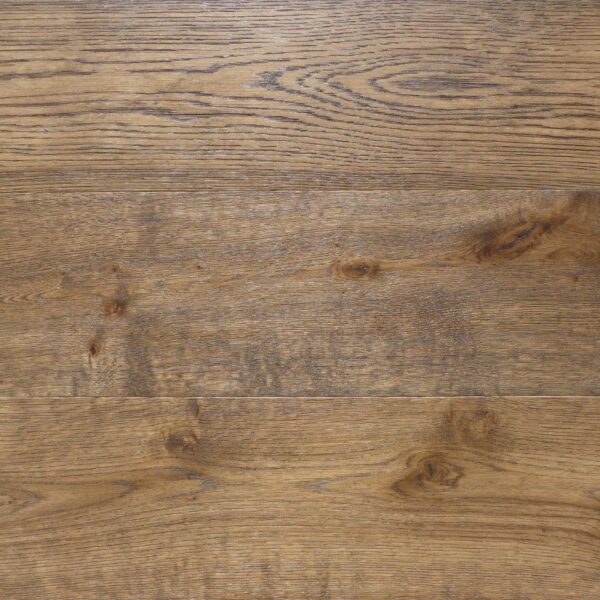
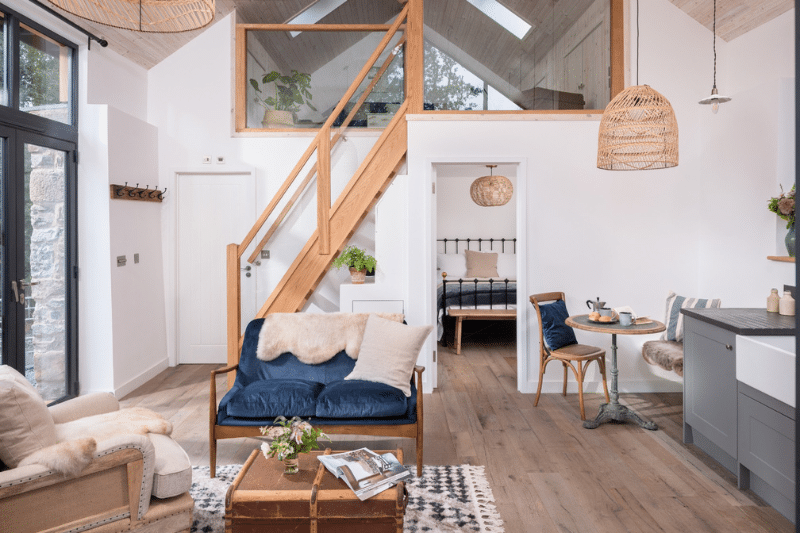
Engineered wood flooring is renowned for its unique structure, featuring layers of bonded timber covered with a high-quality hardwood veneer, often made from prestigious oak. This top layer can be skilfully refinished multiple times, ensuring timeless beauty. The innovative construction provides exceptional stability and durability, allowing for the creation of longer and wider planks.
Additionally, the easy-to-use click system simplifies the installation process, making it quick and hassle-free. Explore a diverse selection of engineered wood flooring options carefully curated by leading brands such as Decka Plank, Jigsaw Click, Sherlock Oak, and Wills & Ferguson.


Why Engineer Wood Flooring in The Southwest?
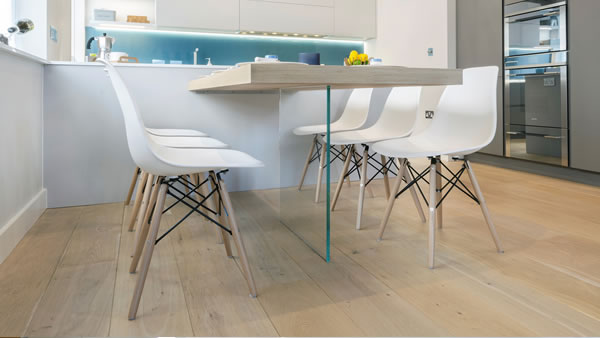
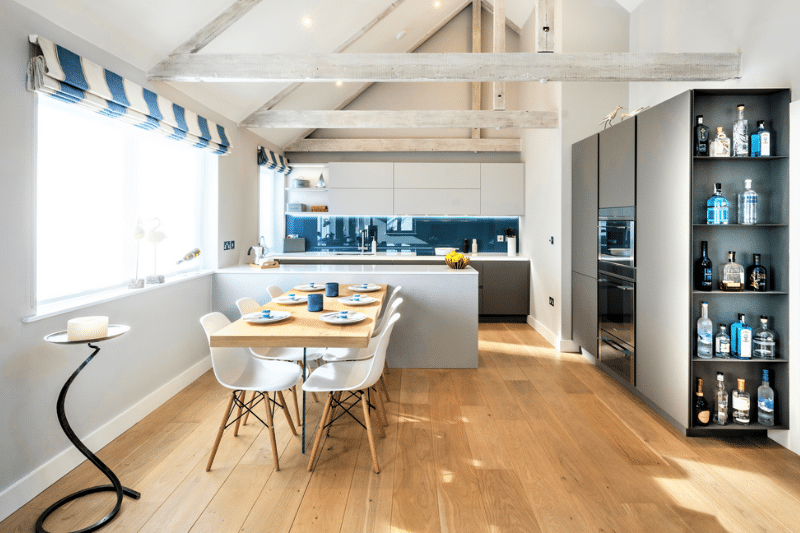
Engineered wood flooring is a practical solution for areas with fluctuating temperature and humidity levels, such as kitchens and conservatories. Its plywood base offers superior stability compared to traditional solid wood flooring, minimising expansion. In the Southwest, this type of flooring is compatible with underfloor heating, a feature not typically found in solid wood options. The top layer of engineered wood flooring in the Southwest is genuine solid wood, providing a beautiful appearance once installed.
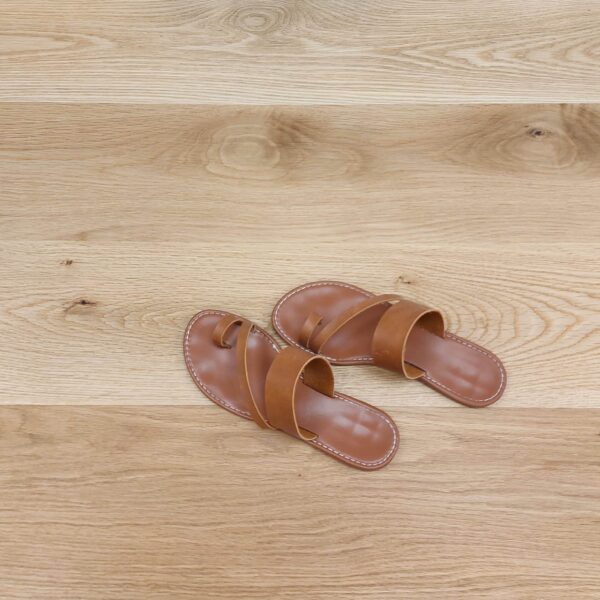
Customers can choose between pre-finished and unfinished options, each offering unique benefits. Unfinished wood allows for customisation but requires additional protection, while pre-finished options are ready for immediate use. Our naturally oiled boards may require an extra coat of oil for added protection. Engineered wood flooring in the Southwest is known for its dimensional stability, allowing for various installation methods. Whether nailing, screwing, gluing, or floating over an underlay, this flooring can be installed on any type of sub-floor.
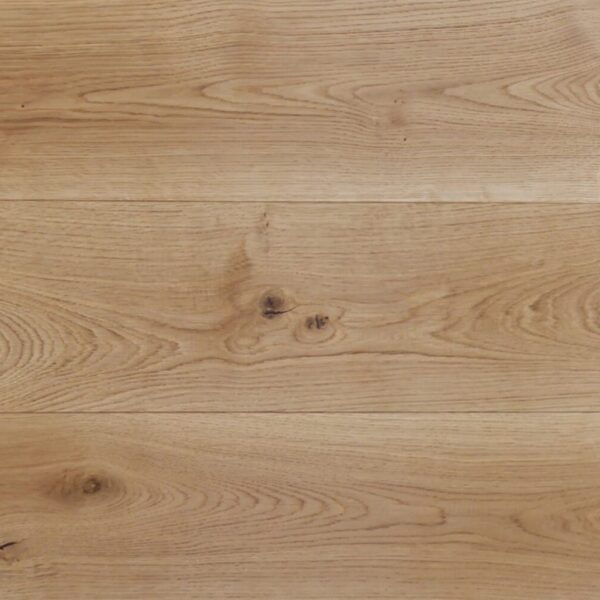
Our team is available to answer any questions about specific sub-floors or the installation process. Durability is key when choosing engineered wood flooring, with certain wood species, like oak, offering exceptional strength and longevity. Oak-engineered wood flooring in the Southwest provides the same durability as solid wood options. Additionally, this type of flooring is more affordable compared to traditional solid wood, making it a cost-effective and sustainable choice that reduces environmental impact.
Do you sell matching accessories?
To fully complete the look of your room, it’s important to address any gaps or holes that may be present. That’s where our selection of flooring accessories comes in. We offer a wide range of mouldings that are designed to complement and enhance your flooring choice.
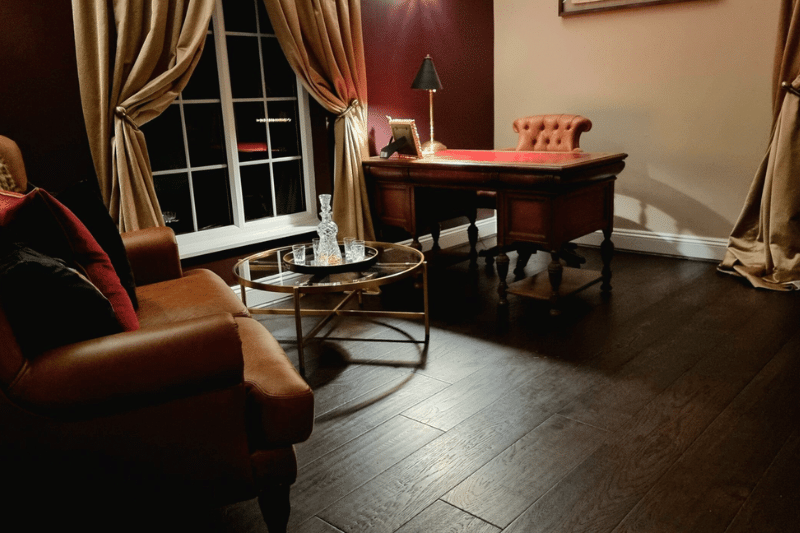
For example, if you choose a coloured engineered oak floor, we can provide a service to stain all trims, thresholds, and stair nosings to match seamlessly. This attention to detail ensures a smooth transition between rooms, creating a cohesive and visually appealing space.
Are there any alternatives to engineered wood flooring available?
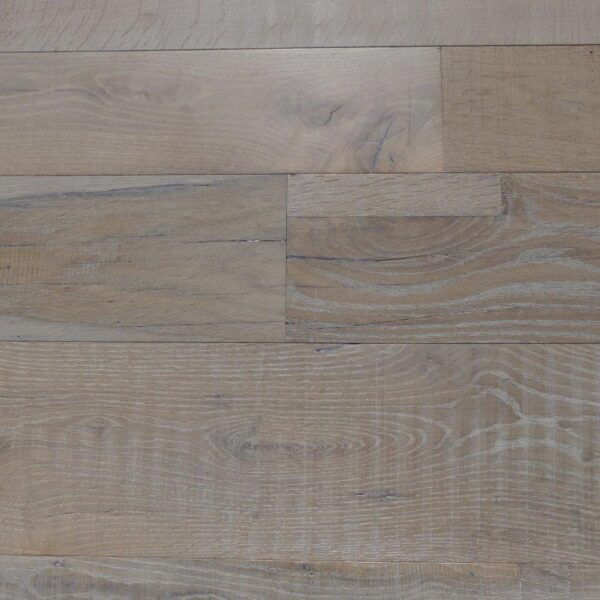
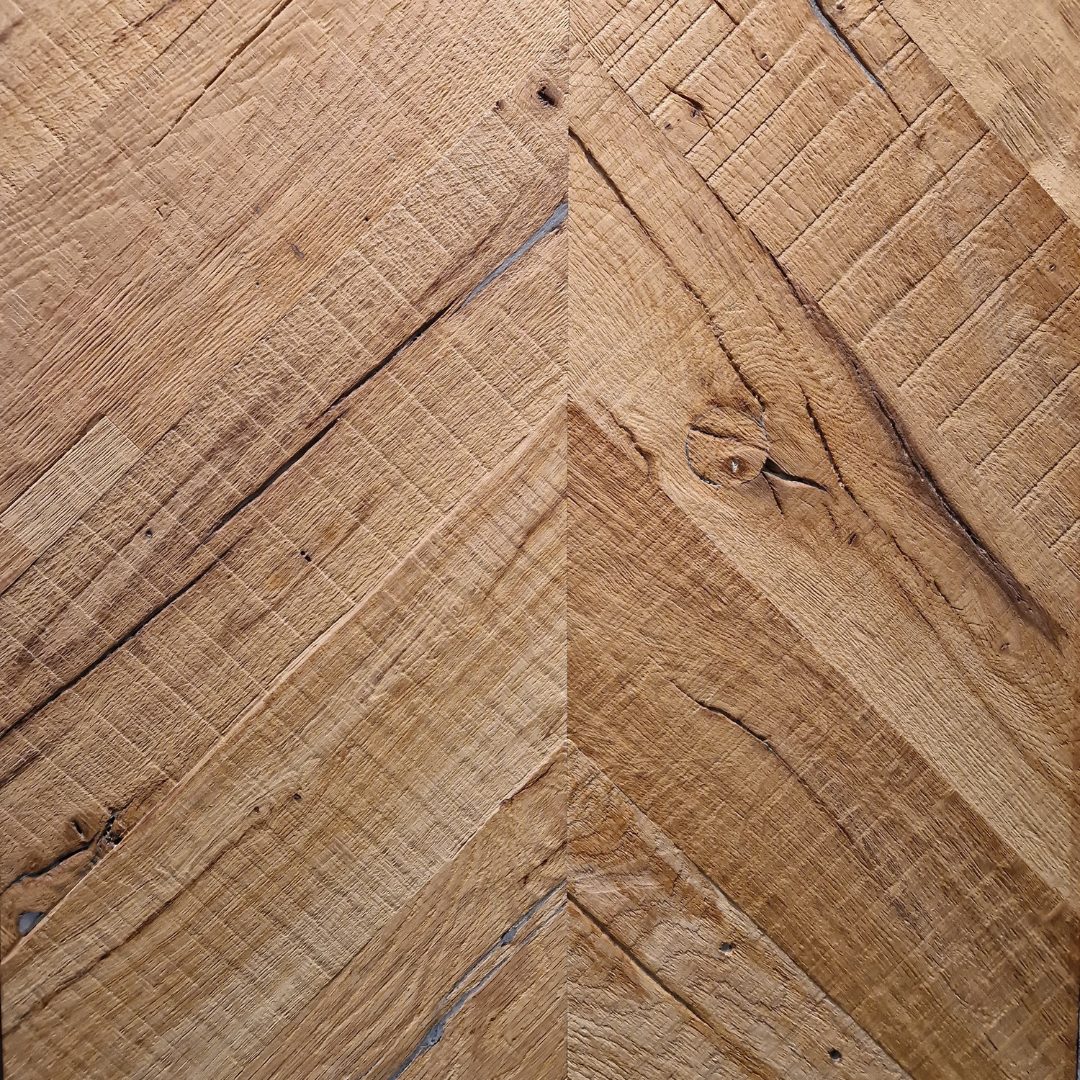
We also stock a wide range of engineered parquet blocks, reclaimed wood flooring and a wide range of quality laminate flooring.
You can find us in b2blistings.org’s Construction Materials Directory
Flooring options for every taste and budget
At Oakley Products SW, we are dedicated to providing a diverse selection of high-quality flooring options to meet a variety of tastes and budgets. Our range includes engineered wood flooring, engineered parquet blocks, reclaimed wood flooring, and premium laminate choices. The engineered parquet blocks offer a cost-effective way to achieve the look of solid wood flooring, with added stability for long-lasting results.
Our reclaimed wood flooring brings a unique charm and historical touch to any space, while our laminate flooring provides a durable and budget-friendly alternative. Our team of experts is here to assist you in finding the perfect flooring solution for your home or business. We are committed to offering competitive pricing and top-notch installation services to make the process as seamless as possible. Whether you’re looking for luxury or practicality, we have the expertise to help you find the perfect fit.
Any questions on how to install engineered wood flooring, or where to find flooring fitters, please either call or email us via the details below.
Phone: 01752 666132
Email: sales@oakleyproductssw.co.uk
How do I install my engineered wood flooring?
To ensure a successful installation of engineered wood flooring in the Southwest, it is essential to allow the floor to properly acclimate. Just like a fine wine, rushing the process will not yield the best results. It is recommended to let the sealed boxes sit flat in the room for three to five days before installation, mimicking typical living conditions as closely as possible. Before laying down the engineered wood flooring, it is crucial to prepare the subfloor adequately.
This involves completing any necessary wet trades and ensuring the building is completely dry. Windows and doors should be installed and sealed properly to prevent any water damage. Following these steps not only makes the installation process easier but also ensures the longevity of the flooring. There are different methods available for fitting the floors, such as tongue and groove or click fitting.
Whether you choose to float the flooring over the underlay or glue it directly to the subfloor, taking the time to properly acclimatise and prepare will result in a beautiful and long-lasting installation.
THE FIRST ROW:
Prior to commencing the installation process, it is imperative to perform a series of calculations and potentially engage in some cutting activities in order to commence the laying process. Once you have selected your designated starting wall, it is essential to measure the width of the room from that point and subsequently divide it by the width of the flooring panels.
This calculation will yield the number of rows of boards that will be laid and the width of the final row. In the event that the last row measures less than 60mm in width, it is advisable to cut the boards in the first row lengthwise accordingly. This precautionary measure ensures that the final row does not end up being excessively narrow.
Installation of floating engineered wood flooring (using underlay)
Oakley’s Engineered Wood Floors can be installed over concrete, anhydrite, existing wood floor chipboard, ceramic tiles, terrazzo, metal, PVC, linoleum, slate, marble, particleboard, OSB, and plywood—but not carpet.
The type of underlay you need will depend on the condition of the condition of the subfloor.. However, for most installations, we recommend using an underlay with a built-in damp-proof membrane, such as Serenity or Eco Gold Lay. See our full range at www.oakleyproductssw.co.uk.
The underlay should be laid edge-to-edge, perpendicular to the direction of the floorboards. Stick it together with tape. We do not recommend overlapping the underlay.
FOLLOW THESE STEPS TO INSTALL
- Start installing along the longest wall or an outside wall, which is likely to be straight and square with the room. Using one of the longest boards, install your first plank with the tongue facing away from the wall. Take great care with the alignment, as misaligned starter rows can cause side and end gaps.
- Use the remainder of the last plank in the first row to start the second row. If the offcut is less than 200mm in length, cut a longer piece for the first board in your second row. As you continue to install, make sure that all boards are staggered so there’s no less than a 300mm gap between joins in adjacent rows. This makes for a more appealing floor and reduces waste.
- We recommend locking the header joints of each row together first so the floor can be installed row by row. If you need to install the planks separately, connect the long side of the board, then use a block and mallet to tap the header joint into the next plank. Alternatively, you can connect the header joint with the previously installed plank, lift both to an angle of 30 degrees, then slide into the long joint before locking into position.
Gluing Down (bonding wood flooring)
Oakley’s Engineered Wood Floors offer a versatile installation option, as they can be securely affixed to various surfaces, including concrete, ceramic tiles, terrazzo, metal, slate, marble, OSB, or plywood. It is important to ensure that the existing surface is suitably prepared, possessing a rough or porous texture. For smooth or sealed surfaces, such as gypsum and anhydrite screeds, it is advisable to pre-sand them to eliminate any soft surface laitance.
When glueing the wood floor to concrete, we highly recommend utilising Wakol Ms. Polymer adhesive. This exceptional product guarantees a robust and dependable bond between the subfloor and the adhesive itself. Specifically designed to complement our natural wood flooring, the Wakol MS 260 adhesive maintains its flexibility, accommodating the natural expansion and contraction of the timber throughout different seasons. Furthermore, this adhesive exhibits a short open time of just 30 minutes, ensuring a prompt and efficient installation process.
To ensure optimal results, it is crucial that each floorboard form a complete and secure bond with the underlying surface. By following these guidelines, you can confidently enjoy the beauty and durability of Oakley’s engineered wood floors for years to come.
FOLLOW THESE STEPS TO INSTALL
- Start installing along the longest wall or an outside wall, which is likely to be straight and square with the room. Spread adhesive from the wall to the width of two planks. Use a 3 or 4.8-mm notched trowel, depending on the condition of the subfloor.
- Using one of the longest boards, install your first plank with the tongue facing away from the wall and secure it into position. Take great care with the alignment, as misaligned starter rows can cause side and end gaps.
- Use the remainder of the last plank in the first row to start the second row. If the offcut is less than 200mm in length, cut a longer piece for the first board in your second row. As you continue to install, make sure that all boards are staggered so there’s no less than a 300mm gap between joins in adjacent rows. This makes for a more appealing floor and reduces waste.
- Once you’re sure the first two rows are straight and secure, spread 700mm–900mm of adhesive across the length of the room. Never spread more than can be covered in 30 minutes.
- Allow the adhesive to cure for approximately 2 hours before permitting light foot traffic and 24 hours before moving furniture onto the floor.
Related pages:
- Engineered Wood Flooring
- Reclaimed Wood Flooring
- Quality Laminate Flooring
- Reclaimed Floorboards
- Wood Flooring
- Reclaimed Cladding
- Hardwood Flooring
- Hardwood Floors
- Flooring in Cornwall
- Wooden Flooring
- Wide Plank Flooring
- Parquet Flooring
- Reclaimed Flooring
- Versailles Panels
- Free Flooring Samples
- Natural Wood Floors
- Oak Flooring
- Solid Oak Thresholds
Looking For Our Pricing? Call Us Now
Fast Shipping
Fast shipping on all orders from UK
Secure Payment
We offer safe shopping guarantee
100% Satisfaction
We have 100% positive feedback from our clients
Telephone Support
We are always on hand for any questions you may have
FREE SAMPLES & TECHNICAL EXPERTISE - NEXT DAY DELIVERY - STOCK RESERVATION AVAILABLE
Inspiration
Examples of our products in live settings

GET IN TOUCH
Have an idea or project then please get in touch...

