Premium Engineered Wood Flooring
Engineered wood flooring
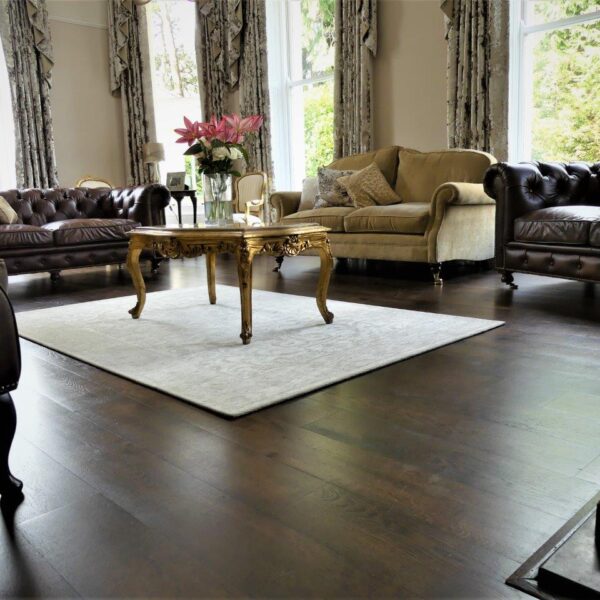
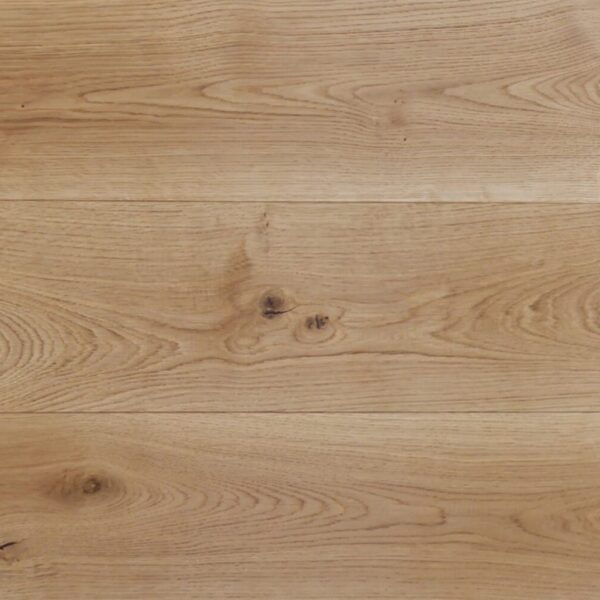
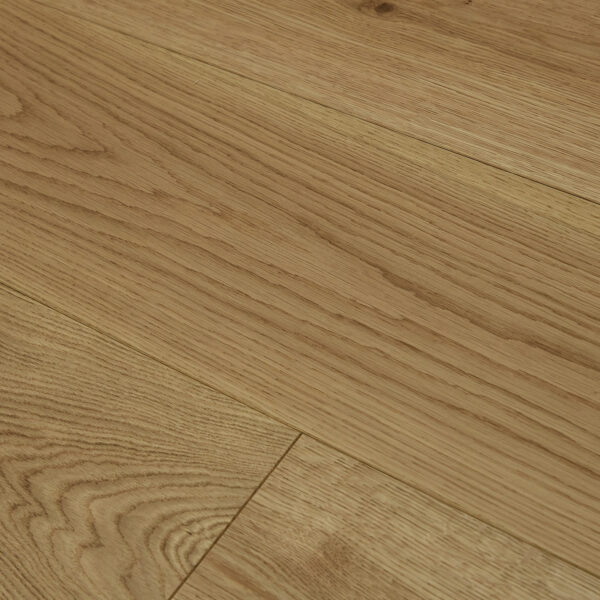
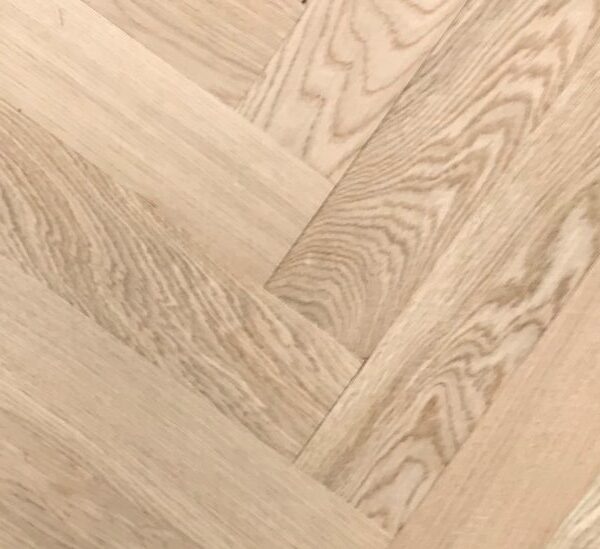
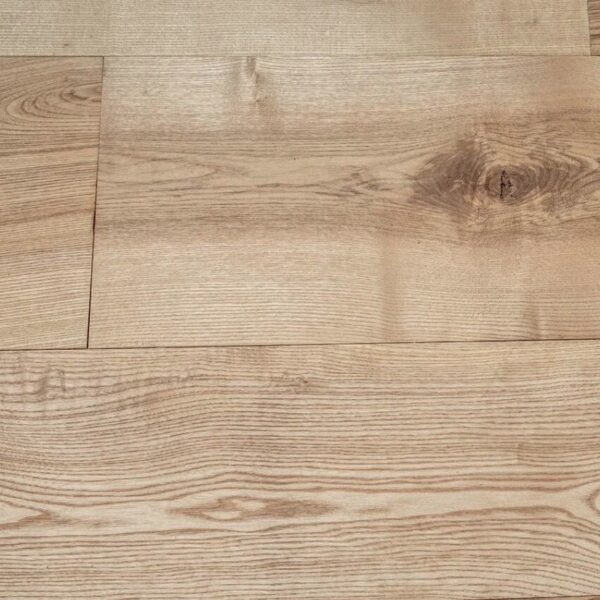
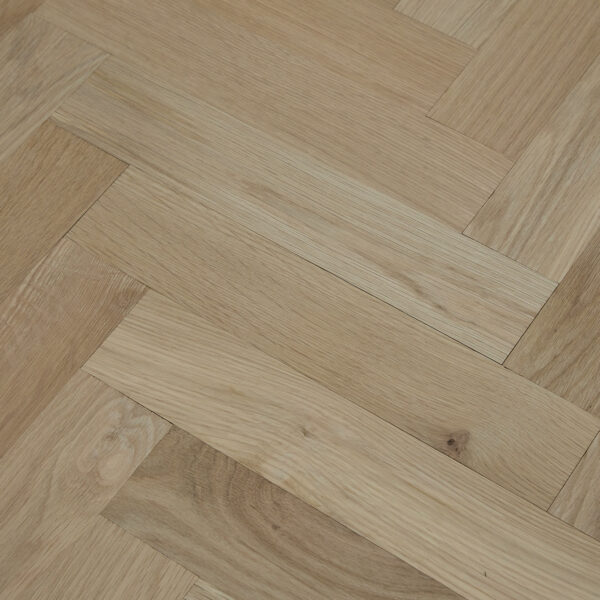
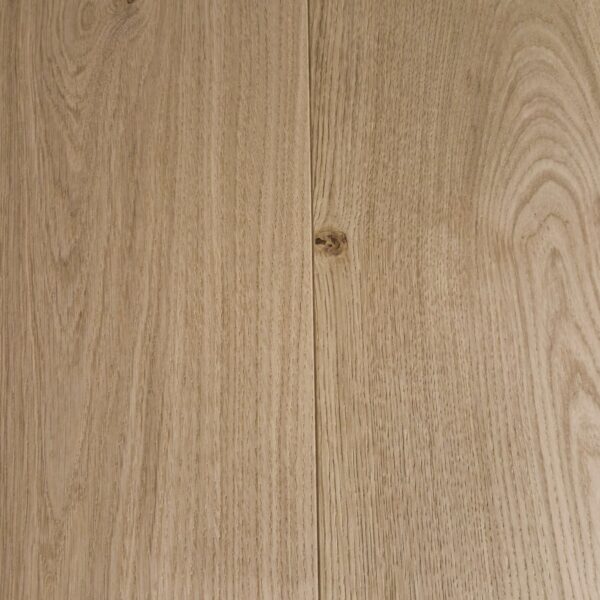
Engineered Wood Flooring is constructed from layers of timber glued together and finished with a top layer of hardwood, this normally being Oak. The top layer of wood can be sanded back and refinished several times. The engineered construction adds dimensional stability and strength, allowing the manufacture of longer and wider planks. Also, as engineered wood flooring is mostly found with a click system, this makes it quick and easy to install.
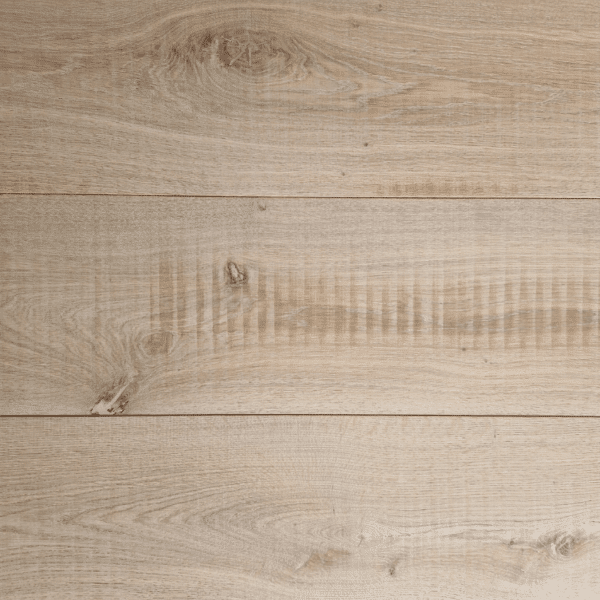
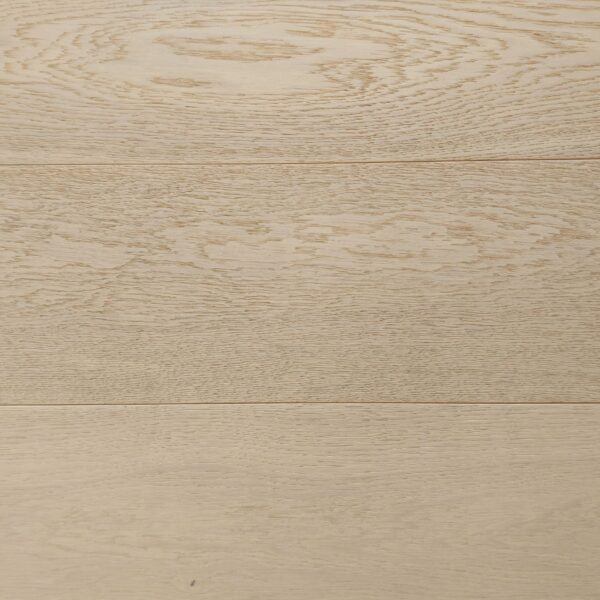
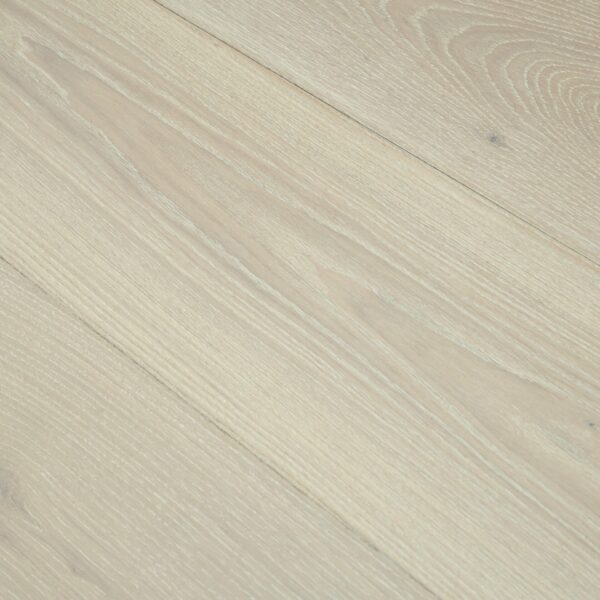
Explore our wide assortment of engineered wood flooring from Decka Plank, Jigsaw Click, Sherlock Oak and Wills & Ferguson.


-
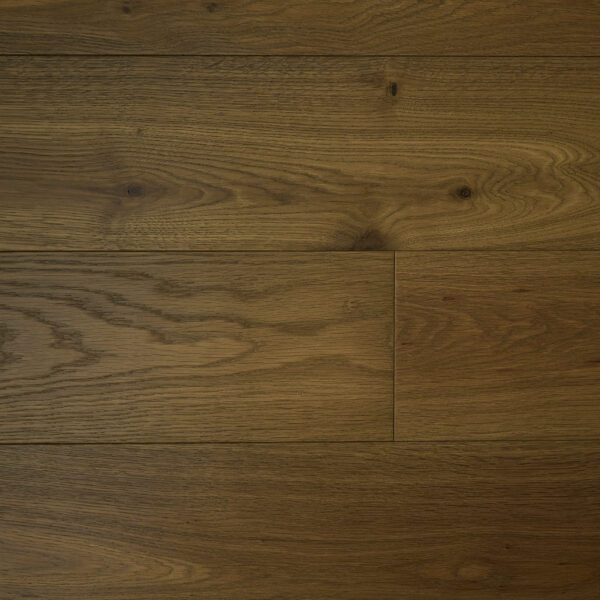
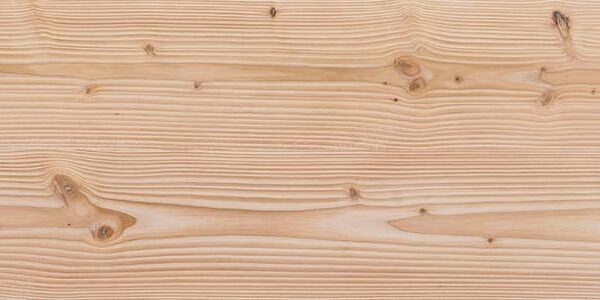
Sherlock Oak 180mm x 21mm
£0.00 Order Sample -
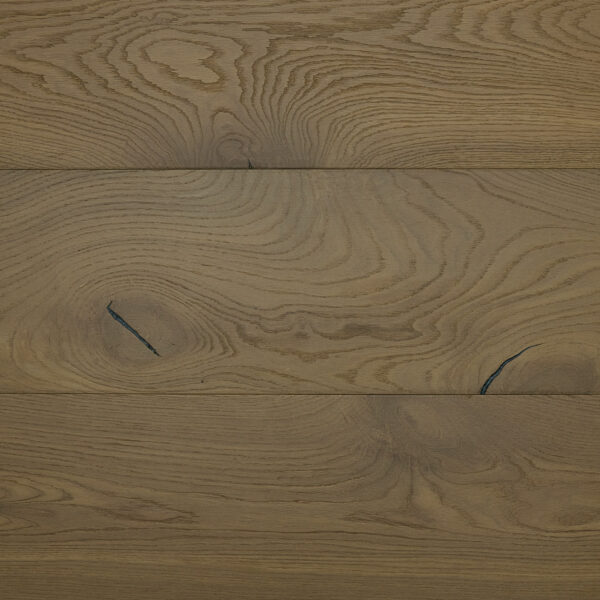
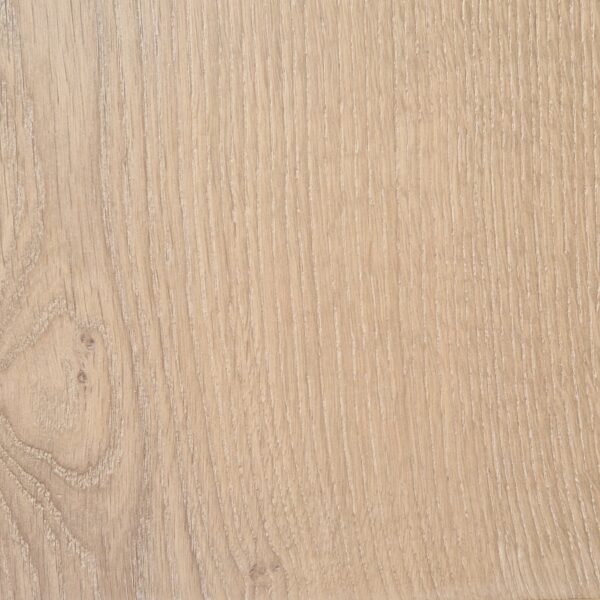
Wills & Ferguson 260mm x 21mm
£0.00 Order Sample -
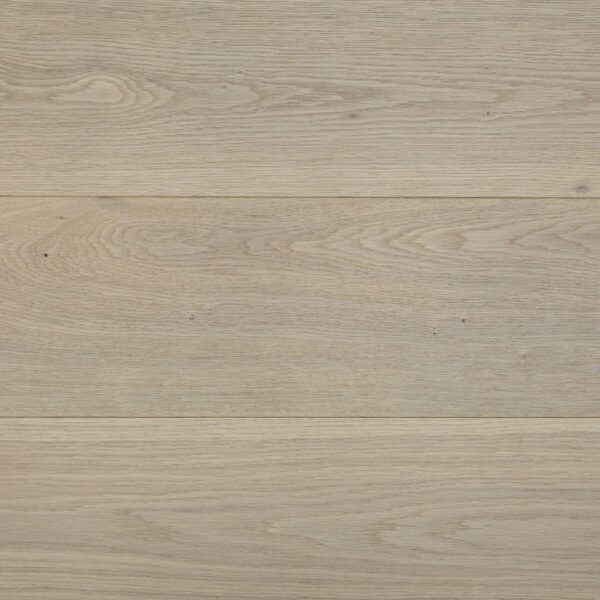
Decka Plank New Hampshire
£0.00 Order Sample -
Decka Plank Montana
£0.00 Order Sample -
Decka Plank Maine
£0.00 Order Sample -
Wills & Ferguson Chelsea Oak
£0.00 Order Sample -
Decka Plank Organic
£0.00 Order Sample -
Decka Plank Alaska
£0.00 Order Sample -
Decka Plank Cottonwood
£0.00 Order Sample -

Wills & Ferguson Arctic Oak
£0.00 Order Sample -
Decka Plank Rawe 190mm
£0.00 Order Sample -
Decka Plank Colorado
£0.00 Order Sample -

Wills & Ferguson Ferrers Oak
£0.00 Order Sample -
Reclaimed Lombard Oak
£0.00 Order Sample -
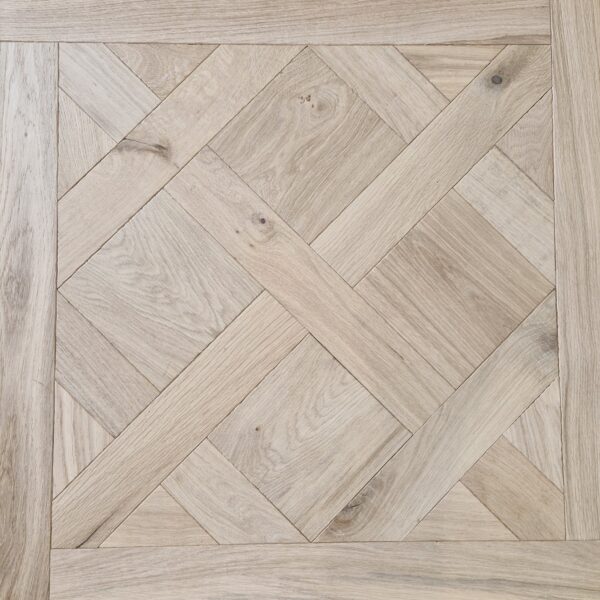
Decka Plank Rawe Blocks (Square Shoulder)
Read more -
Sherlock Oak for Walling & Cladding
£0.00 Order Sample -

Sherlock Oak 3D Feature Walling
£0.00 Order Sample -

Sherlock Oak Giant Planks – 300mm Wide
£0.00 Order Sample -
Decka Plank Cottonwood Herringbone
£0.00 Order Sample -
Wills & Ferguson Oak Interiors
£0.00 Order Sample -
Decka Plank Arizona
£0.00 Order Sample -
Decka Plank Hawaii – Rustic Grade
£0.00 Order Sample -
Decka Plank Rawe (Select Grade)
£0.00 Order Sample -
Decka Plank Dakota
£0.00 Order Sample -
Wills & Ferguson Versailles Panel
£0.00 Order Sample -
Wills & Ferguson Kensington Oak – 400mm Wide
£0.00 Order Sample -

Bishopsgate Pine
£0.00 Order Sample -
Decka Plank Oregon
£0.00 Order Sample -
Decka Plank Alaska Herringbone
£0.00 Order Sample -
Sherlock Oak Prime Herringbone
£0.00 Order Sample -
Wills & Ferguson Ash 260mm
£0.00 Order Sample -
Wills & Ferguson Kensington Oak – 300mm Wide
£0.00 Order Sample -
Wills & Ferguson Scottish Douglas Fir
£0.00 Order Sample -
Wills & Ferguson Douglas Fir – 400mm Wide
£0.00 Order Sample -

Wills & Ferguson Kensington Oak – Select Grade
£0.00 Order Sample -
Wills & Ferguson Knightsbridge Oak
£0.00 Order Sample -
Decka Plank Nebraska
£0.00 Order Sample -
Wills & Ferguson Scottish Douglas Fir Prefinished
£0.00 Order Sample -
Decka Plank Rawe 350mm Blocks
Read more -

Reclaimed Greenwich Oak
£0.00 Order Sample -
Decka Plank Texas
£0.00 Order Sample -
Decka Plank Washington
£0.00 Order Sample -
Decka Plank Utah
£0.00 Order Sample -

Decka Plank Kansas
£0.00 Order Sample -
Decka Plank Georgia
£0.00 Order Sample
&url=https://oakleyproductssw.co.uk/product/decka-plank-rawe-blocks/&media=https://oakleyproductssw.co.uk/wp-content/uploads/2022/08/Decka-Plank-Rawe-350-Osmo-Oiled.jpg)
&url=https://oakleyproductssw.co.uk/product/decka-plank-rawe-select-grade/&media=https://oakleyproductssw.co.uk/wp-content/uploads/2022/08/Rawe-240-Select-with-a-Invisable-Finish--1024x1024.jpg)
Why Engineered Wood Flooring?
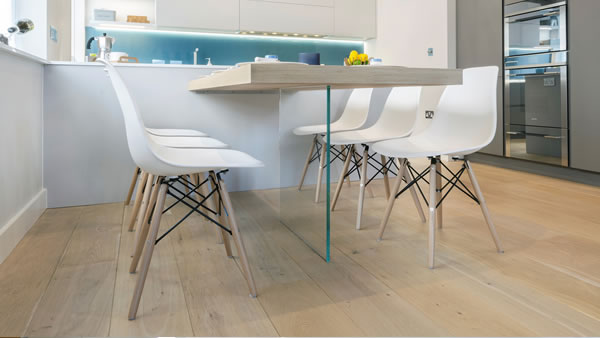
Using engineered wood flooring overcomes issues when installing in areas such as kitchens, conservatories, or spaces with high amounts of temperature and humidity changes. The plywood base makes the product much more stable than solid wood flooring and gives you far more flexibility as they don’t expand as much as solid wood flooring. Engineered wood flooring is also compatible for underfloor heating, which is another added benefit, whereas solid wood flooring isn’t. Also, another exciting part is that engineered wood flooring looks like solid wood flooring as the top layer is real, solid wood but it then has a plywood base construction underneath, meaning you can’t tell the difference once installed.
Pre-finished and unfinished engineered wood flooring options give you great flexibility. Unfinished wood allows you to create bespoke colours and finishes but requires further protection from a lacquer or oil. Pre-finished options, however, are ready to use once installed, although our natural oiled boards require an extra coat of oil after installation.
Another advantage of engineered wood flooring is because it is dimensionally stable, it also means that it can be installed in a number of different ways, including nailed or screwed down, glued down using flexible flooring adhesive or floated over an underlay. Meaning what ever sub-floor you have, you can still install a engineered wood floor, if you have any questions as to your sub-floor and how to install engineered wood flooring, then please call us on 01725 666132 or email: sales@oakleyproductssw.co.uk.
The durability of a hardwood floor is based on the species of wood used. Some species are much harder and more durable than others. Oak is a very durable species of wood for flooring. So, if you choose Oak engineered wood flooring the durability will be the same for solid and engineered formats of the flooring.
Then finally the biggest pull factor is that engineered wood flooring is less costly than solid wood flooring, as you will see in our Decka Plank Range. This is because you are using less hard wood, also making your choice more sustainable for the environment, as less trees are having to be chopped down.
Do you sell matching accessories?
To finish the look of your room, cover any expansion gaps, pipe holes or gaps in doorways you may want to have a look at our Flooring Accessories, which include a full range of mouldings to match or complement your choice in flooring. So, if you were to choose a coloured engineered oak floor, we offer the service whereby we can stain any trim, threshold or stair nosing we provide to match your flooring, allowing a seamless change between rooms.
Are there any alternatives to engineered wood flooring available?
We also stock a wide range of engineered parquet blocks, reclaimed wood flooring and a wide range of quality laminate flooring.
You can find us in b2blistings.org’s Construction Materials Directory
Flooring options for every taste and budget
At Oakley Products SW, we pride ourselves on providing a diverse range of flooring options to suit every taste and budget.
In addition to our engineered wood flooring selection, we also offer a wide range of engineered parquet blocks, reclaimed wood flooring, and quality laminate flooring.
Our engineered parquet blocks are a popular choice because they offer the look of solid wood flooring at a more affordable price, while also providing improved stability due to their multi-layered construction.
Our reclaimed wood flooring is a sustainable option that adds character and history to any space.
And, for those looking for a more budget-friendly option, our laminate flooring provides a durable and easy-to-maintain option that still looks great.
No matter what type of flooring you are looking for, our knowledgeable and friendly staff are here to help you find the perfect fit for your home or business. And, with our competitive pricing and installation services, we make it easy to get the quality flooring you deserve.
Any questions on how to install engineered wood flooring, or where to find flooring fitters, please either call or email us via the details below.
Phone: 01752 666132
Email: sales@oakleyproductssw.co.uk
How do I install my engineered wood flooring?
Before fitting any engineered wood flooring, you must allow 3-5 days for the floor to acclimatise as nature is in no hurry when it produces trees, and likewise, an impressive wood floor installation is never rushed. The sealed, unopened boxes should be laid flat, in the centre of the room for three to five days beforehand. DO NOT store the flooring outdoors, in an outbuilding, or anywhere with damp or condensation problems. The conditions where the flooring is acclimatised should be as close as possible to the typical living conditions.
Preparation of the subfloor is paramount, and all subfloors must be ideal before any engineered wood flooring is fitted. Wet trades like screeds, plastering and decorating need to be complete and the building must be thoroughly dried out. Windows and doors should be fitted and watertight. Following this rule will make the installation process much easier and increase the life of the product.
Tongue & groove or click fitting methods are available. Installation methods include floating over underlay or gluing direct to the subfloor using flexible adhesive.
THE FIRST ROW:
Before installation can begin a few calculations need to be made, and you might have to do some cutting before you can start laying. When you’ve chosen your starting wall, measure the width of the room from there and divide that by the width of the flooring panels. This will give you the number of rows of boards you’ll lay and the width of the last row. If your last row is going to be under 60mm wide, cut the boards in your first row lengthwise accordingly so that your last row isn’t too narrow.
Installation of floating engineered wood flooring (using underlay)
Oakley’s engineered wood flooring can be installed over concrete, anhydrite, existing wood floor chipboard, ceramic tiles, terrazzo, metal, PVC, linoleum, slate, marble, particleboard, OSB and plywood – but not carpet.
The type of underlay you need will depend on the subfloor condition. However, for most installations we recommend using an underlay with a built-in damp proof membrane, such as Serenity and Eco Gold Lay. See our full range at www.oakleyproductssw.co.uk.
Underlay should be laid edge-to-edge perpendicular to the direction of floorboards. Stick it together with tape. We do not recommend overlapping the underlay.
FOLLOW THESE STEPS TO INSTALL
- Start installing along the longest wall or an outside wall which is likely to be straight and square with the room. Using one of the longest boards, install your first plank with the tongue facing away from the wall. Take great care with the alignment as misaligned starter rows can cause side and end gaps.
- Use the remainder of the last plank in the first row to start the second row. If the off cut is less than 200mm in length, cut a longer piece for the first board in your second row. As you continue to install, make sure that all boards are staggered so there’s no less than a 300mm gap between joins in adjacent rows. This makes for a more appealing floor and reduces waste.
- We recommend locking the header joints of each row together first so the floor can be installed row by row. If you need to install the planks separately, connect the long side of the board then use a block and mallet to tap the header joint into the next plank. Alternatively, you can connect the header joint with the previously installed plank, lift both to an angle of 30 degrees then slide into the long joint before locking into position.
Gluing Down (bonding wood flooring)
Oakley’s engineered wood flooring can be glued directly to concrete, ceramic tiles, terrazzo, metal, slate, marble, OSB or plywood. Ensure the existing surface is ‘rough’ or porous. Pre-sand any slick or sealed surfaces – gypsum and anhydrite screeds especially need to be abraded to remove the soft surface laitance. When gluing to concrete, we recommend using Wakol Ms Polymer to ensure a strong bond between the subfloor and adhesive. Designed specifically for our natural wood flooring, Wakol MS 260 adhesive will hold the floor after a short open time of 30 minutes but remain flexible to allow for the expansion and contraction of timber between seasons. It’s essential that there’s a full bond between each floorboard and the surface beneath.
FOLLOW THESE STEPS TO INSTALL
- Start installing along the longest wall or an outside wall which is likely to be straight and square with the room. Spread adhesive from the wall to the width of 2 planks. Use a 3 or 4.8mm notched trowel, depending on the condition of the subfloor.
- Using one of the longest boards, install your first plank with the tongue facing away from the wall, and secure into position. Take great care with the alignment as misaligned starter rows can cause side and end gaps.
- Use the remainder of the last plank in the first row to start the second row. If the off cut is less than 200mm in length, cut a longer piece for the first board in your second row. As you continue to install, make sure that all boards are staggered so there’s no less than a 300mm gap between joins in adjacent rows. This makes for a more appealing floor and reduces waste.
- Once you’re sure the first two rows are straight and secure, spread 700mm – 900mm of adhesive across the length of the room. Never spread more than can be covered in 30 minutes.
5. Allow the adhesive to cure for approximately 2 hours before permitting light foot traffic, and 24 hours before moving furniture onto the floor.
Related pages:
- Engineered Wood Flooring
- Reclaimed Wood Flooring
- Quality Laminate Flooring
- Reclaimed Floorboards
- Wood Flooring
- Reclaimed Cladding
- Hardwood Flooring
- Hardwood Floors
- Flooring in Cornwall
- Wooden Flooring
- Wide Plank Flooring
- Parquet Flooring
- Reclaimed Flooring
- Versailles Panels
- Free Flooring Samples
- Natural Wood Floors
- Oak Flooring
- Solid Oak Thresholds
Looking For Our Pricing? Call Us Now
Fast Shipping
Fast shipping on all orders from UK
Secure Payment
We offer safe shopping guarantee
100% Satisfaction
We have 100% positive feedback from our clients
Telephone Support
We are always on hand for any questions you may have
FREE SAMPLES & TECHNICAL EXPERTISE - NEXT DAY DELIVERY - STOCK RESERVATION AVAILABLE
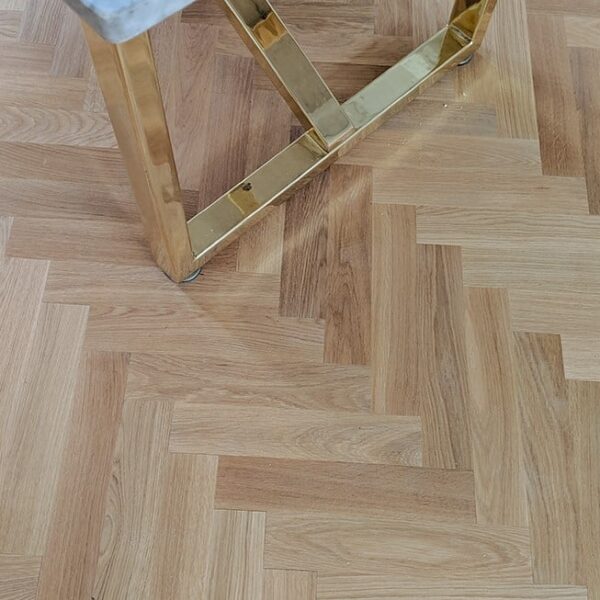
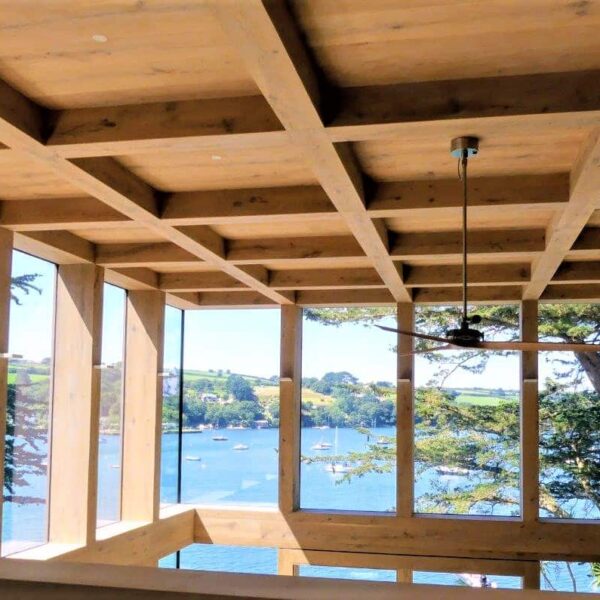
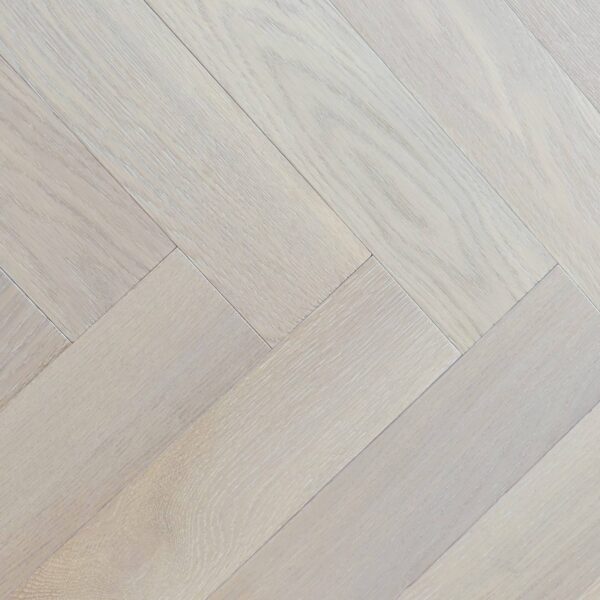
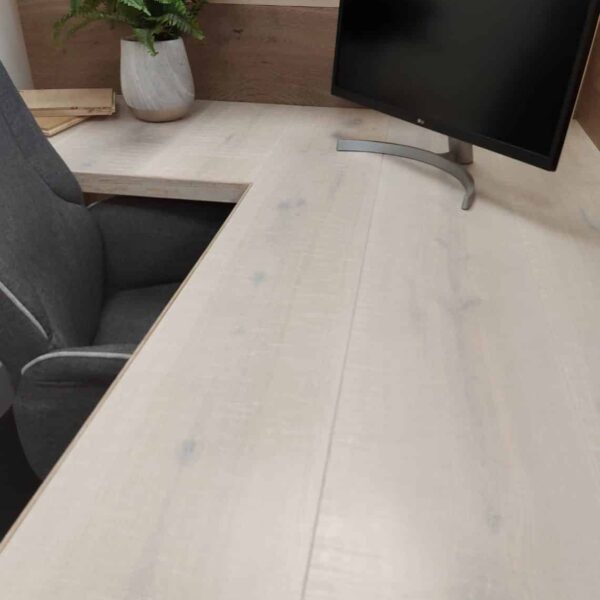
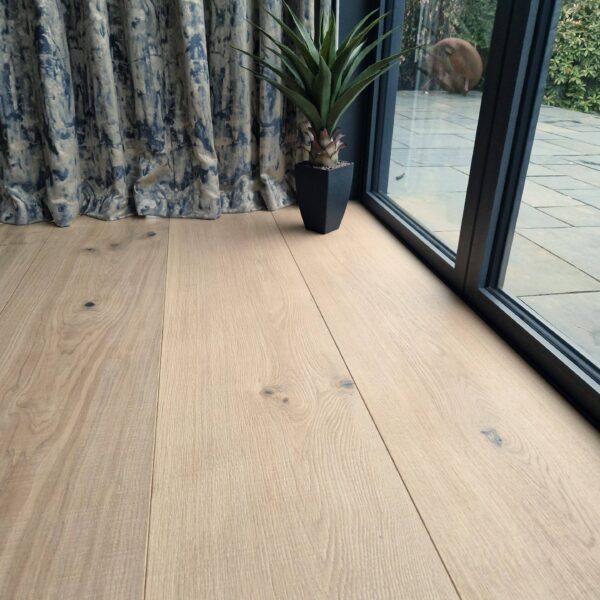
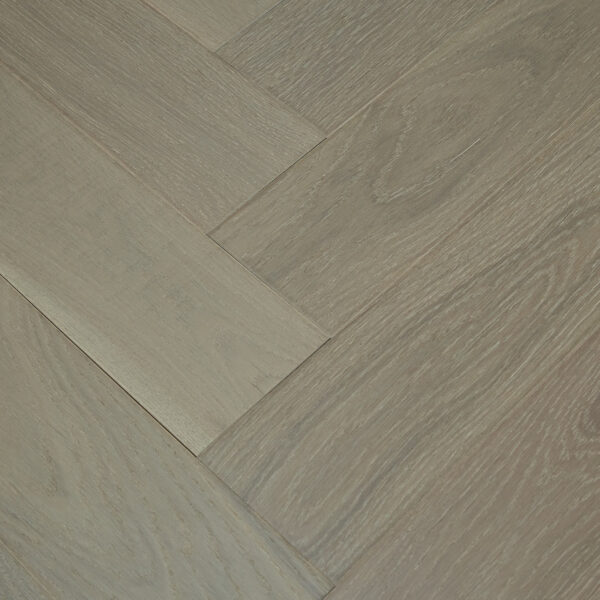
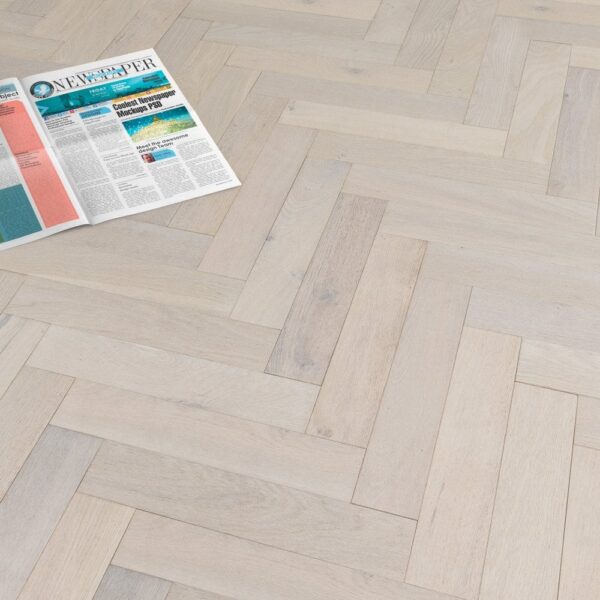
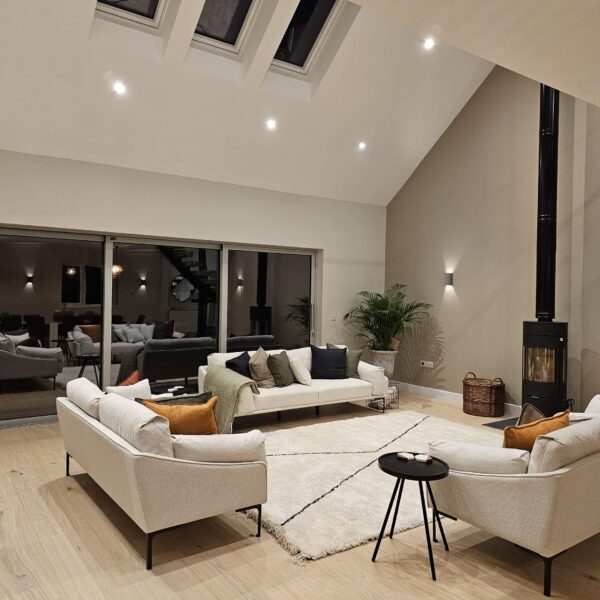
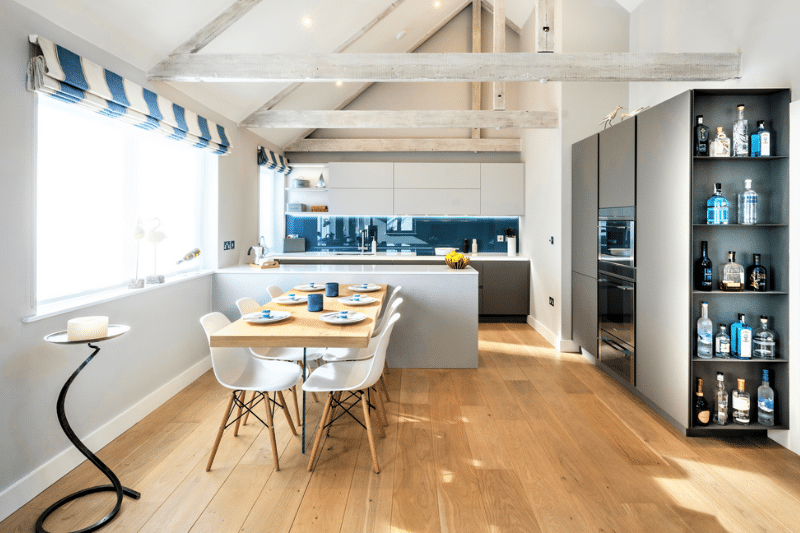
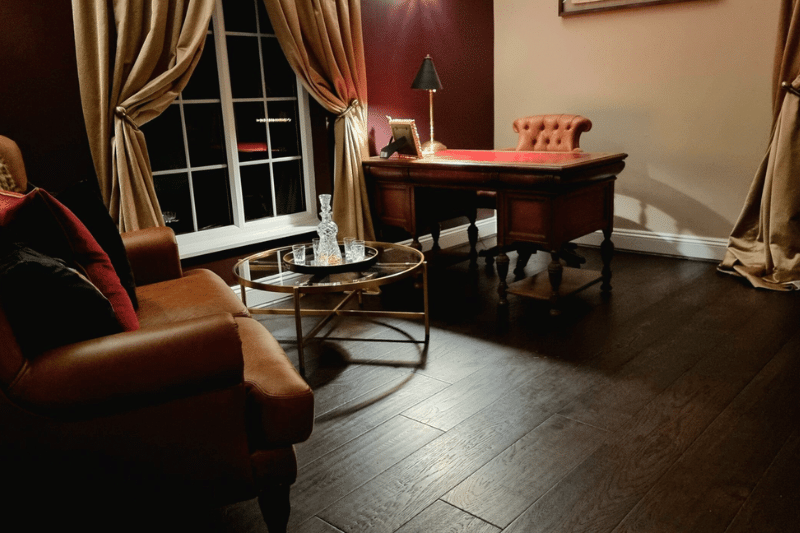
Inspiration
Examples of our products in live settings


GET IN TOUCH
Have an idea or project then please get in touch...